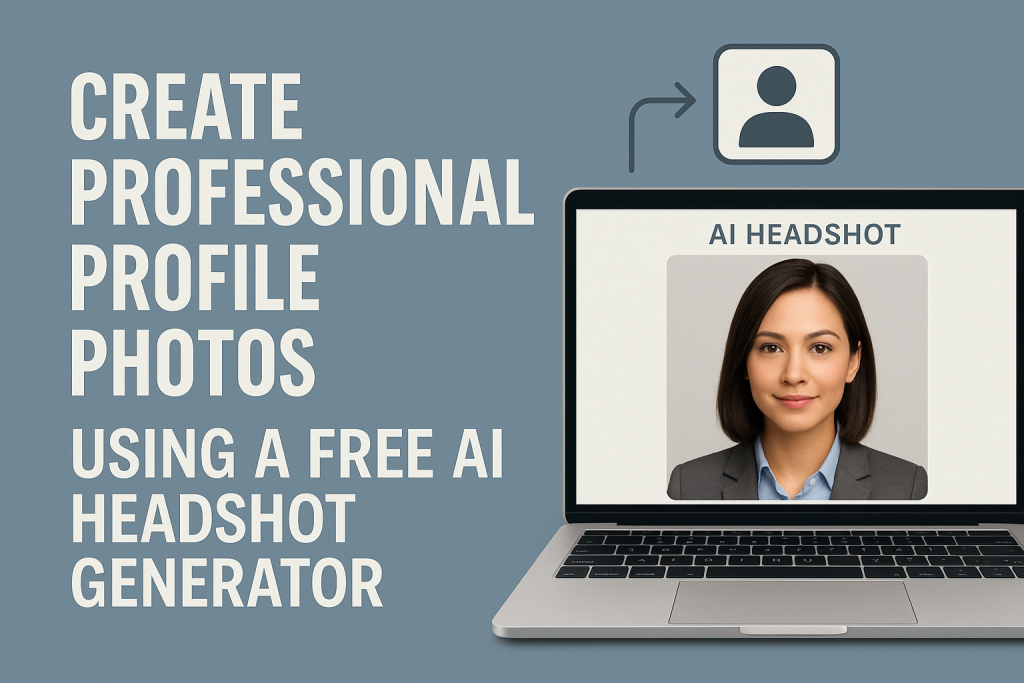
Create Professional Profile Photos Using a Free AI Headshot Generator
A professional profile photo is one of the first things people notice when they interact with you online. It appears on job applications, LinkedIn, company dashboards, email profiles, personal websites, and social platforms. Clear and polished headshots make you easier to recognize and help create trust. In the past, you needed a photographer, a studio, and good lighting. Today, a free AI headshot generator can produce high quality portraits with very little effort.
This article explains how these tools work, how to prepare your photos, how to choose the best style, and how to use the results across your professional identity. You will also find simple diagrams and two direct reference links at the end.
How a Free AI Headshot Generator Works
AI headshot tools are trained on large sets of portrait images. They learn facial structure, lighting, color balance, and composition. When you upload your photos, the model extracts your identity, recreates your facial features, and applies a professional style.
The workflow can be illustrated like this:
               AI Portrait Generation
 ------------------------------------------------
 |          User Uploads Several Photos         |
 ------------------------------------------------
                        |
                Identity Extraction
                        |
            Portrait Style and Lighting Model
                        |
                     Final Rendering
The identity extraction stage builds a detailed representation of your facial geometry. The style model applies clean lighting, smooth backgrounds, and professional framing. The rendering stage compresses everything into a final image that is ready for online use.
Most free tools offer fewer styles than paid versions, but the quality can still be strong enough for professional portraits.
Preparing the Right Input Photos
Even the best AI model depends on the photos you provide. Good inputs produce realistic outputs. Poor inputs often lead to distortions or mismatched details.
Use these guidelines when selecting photos to upload:
Clear and well-lit images
Make sure your face is visible and not covered by shadows or filters.
Different angles
Front view, slight left, and slight right help the model understand depth.
Neutral expression
A relaxed and natural expression gives the best final portrait.
Simple clothing
Solid colors and clean tops look more professional.
Minimal background noise
Clutter, strong colors, or heavy filters can confuse identity extraction.
Avoid blurry selfies, sunglasses, hats, or heavily edited photos. The goal is to give the model enough information to represent you accurately.
Selecting the Right Style
A free AI generator usually offers a few preset styles. You might see categories like corporate, soft portrait, bright studio, or white background. The style you choose depends on the platform where you plan to use the photo.
LinkedIn and other professional networks work well with clean backgrounds and soft lighting. Slack or casual internal systems may benefit from more natural colors or a relaxed pose.
Here is a simple visual map of how style elements work.
                Style Elements
 ------------------------------------------------
 | Background | Lighting | Color Tone | Framing |
 ------------------------------------------------
 |   White    |   Soft   |  Natural   |  Chest  |
 |   Gray     | Neutral  |    Warm    |  Close  |
 |   Blur     | Studio   |    Cool    |  Wide   |
 ------------------------------------------------
For most people, a white or gray background with soft lighting creates the clearest professional appearance.
Generating Multiple Variations
One of the advantages of using AI is the ability to generate several portraits at once. A free generator usually outputs two to eight images in a batch. Keep all of them, then compare them across the following attributes:
• facial accuracy
• lighting consistency
• clarity
• expression
• background quality
You may find one image perfect for LinkedIn, another ideal for a resume, and another suitable for your website or GitHub profile.
Having multiple portraits also helps you build a cohesive personal brand across different platforms.
Post Processing for Better Results
Even a polished AI portrait sometimes needs small adjustments. Basic editing improves the final look without altering your identity.
Consider these simple edits:
Crop the right dimensions
LinkedIn prefers a square format. Websites often display circular thumbnails.
Slight brightness adjustment
A small increase in brightness makes your face stand out on darker screens.
Minor sharpening
A gentle sharpening pass helps improve clarity without looking artificial.
Repair small artifacts
If the generator produces mismatched earrings, hair inconsistencies, or slight edge distortions, crop or retouch the affected area.
Most modern phones include built-in editing tools that are sufficient for these adjustments.
Using Your New Headshot Across Platforms
Once you create a clean portrait, update it across your online presence. Consistency reinforces recognition, especially in professional networks.
Common places to update include:
• LinkedIn
• Resume
• Personal portfolio
• GitHub
• Slack and Teams
• Gmail profile
• Company directory
• Online communities related to your industry
Even a free AI portrait can dramatically improve how your profile is perceived by recruiters, clients, or collaborators.
Maintaining Authenticity
AI headshot tools often include optional beautification or enhancement features. These can be tempting, but it is important to stay close to your real appearance. Professional photos should look like you. Slight lighting improvements or color corrections are fine, but avoid changes that significantly alter your facial structure.
Realism matters in professional environments. If the output does not resemble you closely, regenerate the images using cleaner inputs or a more natural style preset.
When a Free Tool Is Enough
Free AI generators work well in many situations:
• refreshing your LinkedIn photo
• creating a polished look for a resume
• updating your company profile
• adding consistency to your personal brand
• preparing a quick headshot before an interview
They provide convenience and strong quality without cost. They are ideal for beginners or users who need a good portrait quickly.
When You May Need a Paid Option
A paid headshot generator may be worthwhile for more advanced needs:
• higher resolution for print
• a wide variety of styles
• office or studio background scenes
• improved realism
• batch portraits for a team or company
Free tools focus on essential features. Paid tools extend style variety, resolution, and professional detail.
Summary Diagram
Here is a simple overview of the complete process.
           Headshot Creation Flow
 ---------------------------------------------------------
 | Inputs: Clear Photos | Multiple Angles | Neutral Light |
 ---------------------------------------------------------
                         ↓
                   AI Headshot Model
                         ↓
 ---------------------------------------------------------
 | Outputs: Professional Portraits | Variations | Edits   |
 ---------------------------------------------------------
This structure helps you plan the steps clearly and ensures you get the best results from even a free generator.
References
https://www.wired.com/story/ai-headshot-tools/
A review of AI headshot generators and how they compare to traditional photography.
https://hbr.org/2021/what-makes-a-great-professional-profile-photo
An analysis of the characteristics that make a profile photo effective.